Supplies:
Cardstock
Skewer stick
Glue – I use my glue gun
Inks
Glimmer mist or perfect pearls mist
Gems or Stickles, something for the centers of the flowers
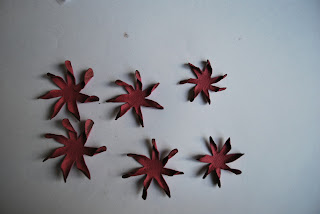
First you need to cut out six petals, I use my cricut but you can use what you have to punch out the flowers.
2 at 1 ¾ inches
2 at 1 ½ inches
1 at 1 ¼ inches
Next step: I ink the petals around the outter edges a bit, then I mist the petals with water. You take the skewer and roll the petals towards you and pinch them at the same time. They will look like this after this step is done.
The next step is you glue all the petals together(I actually use my glue gun), alternating which way each petal goes. Then you just dab a bit of stickles in the center and add a gem or pearl to it. For a nice pearly finish I like to spray the completed flowers with Perfect Pearls or Glimmer mist.
These take about 10 minutes to make and really they are so simple. I love the look of them. Here is a layout with some of the flowers on it. Have fun with them.
Thanks for looking and have a great weekend .


4 comments:
A fabulous looking flower. Looks great on your new layouts.
oh I going to have to try these. I have an addiction at the moment of making paper flowers, so relaxing!
Great tutorial, thanks for sharing!
this one too...awesome tutorial and i will definitely try this later at home.
Just found this as I was browsing your blog, thank you off to give it a try on the Cricut.
Post a Comment